Welcome
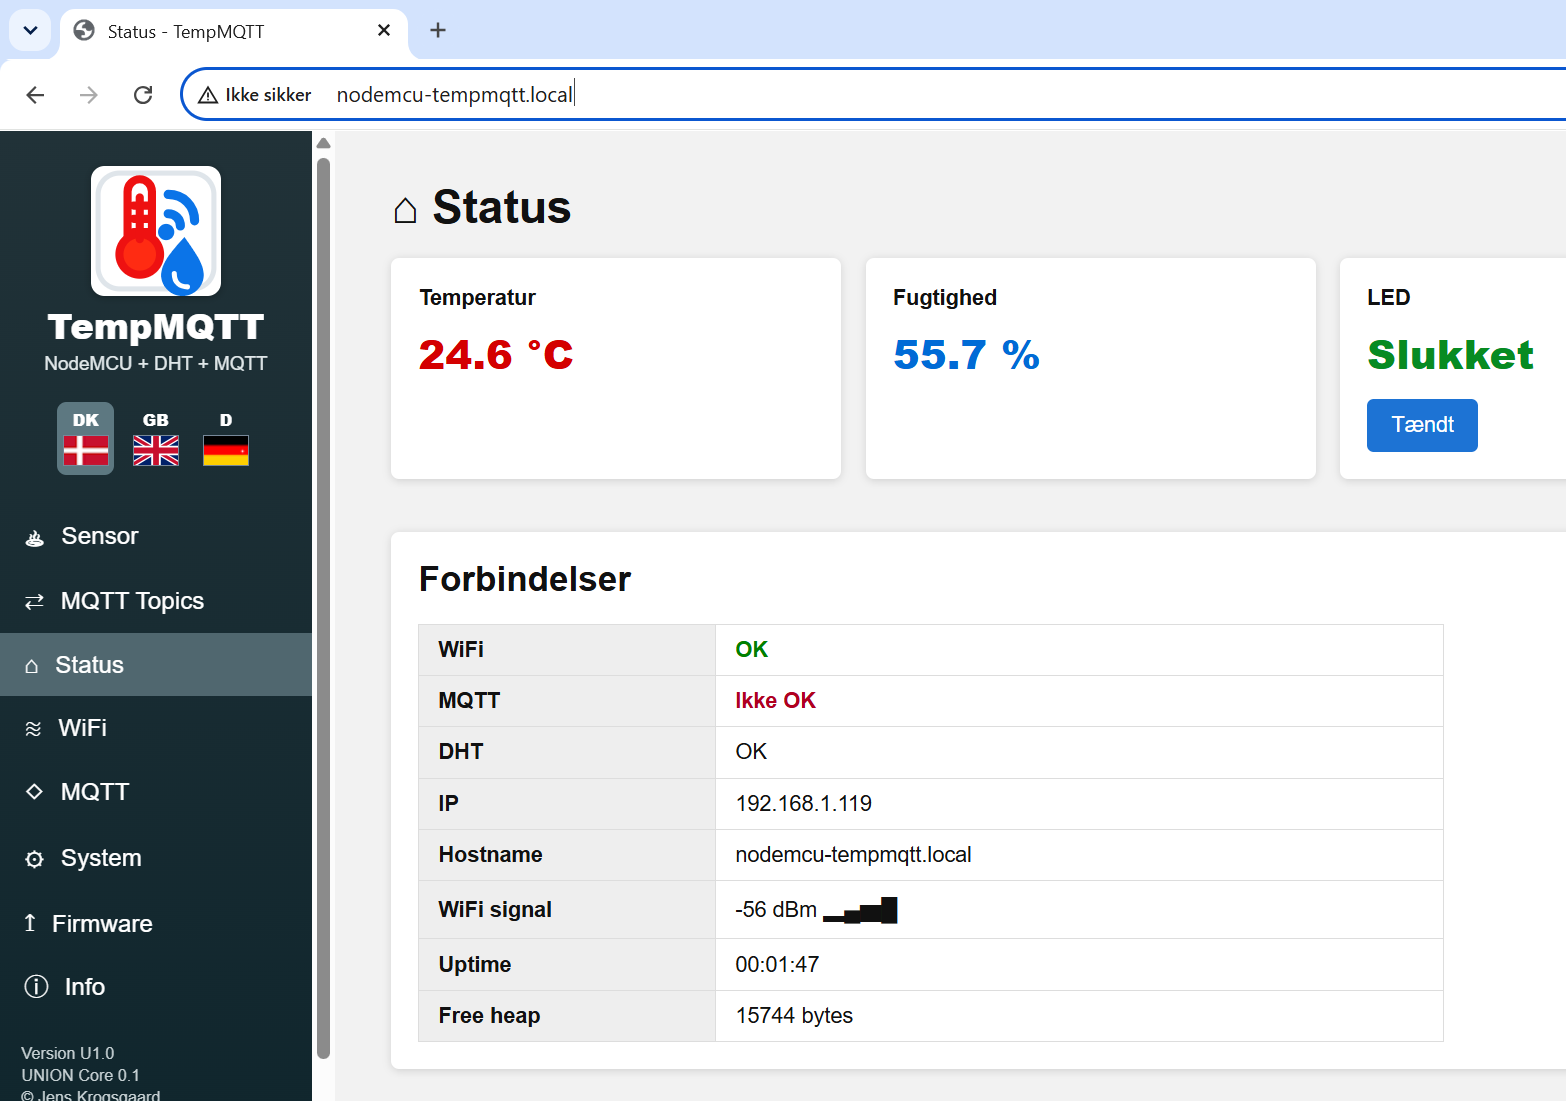
In this guide, you will learn how to install software on a NodeMCU. We use TempMQTT as an example, but the principle is exactly the same for the other three NodeMCU projects.
Download code
Go to the Project UNION Portal:
https://www.krogsgaardsmodelbane.dk/union/
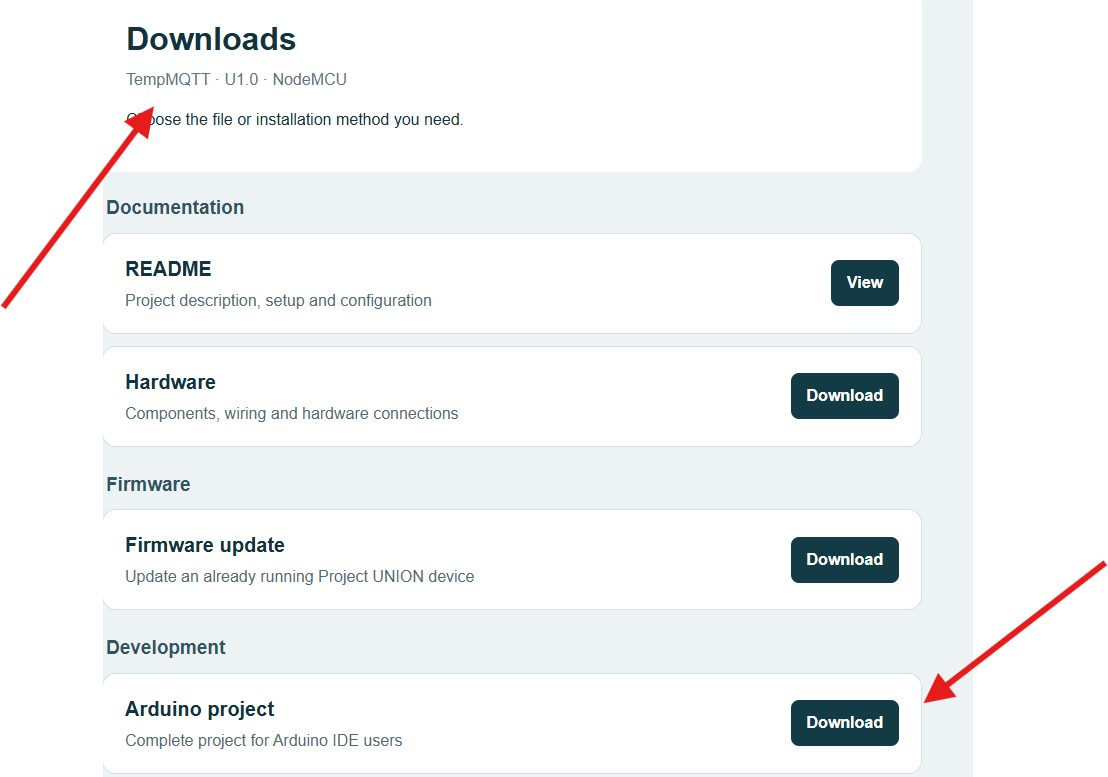
Find the NodeMCU project you want to install and click the Download button.
Select Arduino Source.
You can choose between four NodeMCU projects:
FlagMQTT
Arrival Sign
TempMQTT
Petrol Price Sign
In this guide, I will use TempMQTT as an example. The installation procedure is the same for all four projects.
Open Arduino IDE
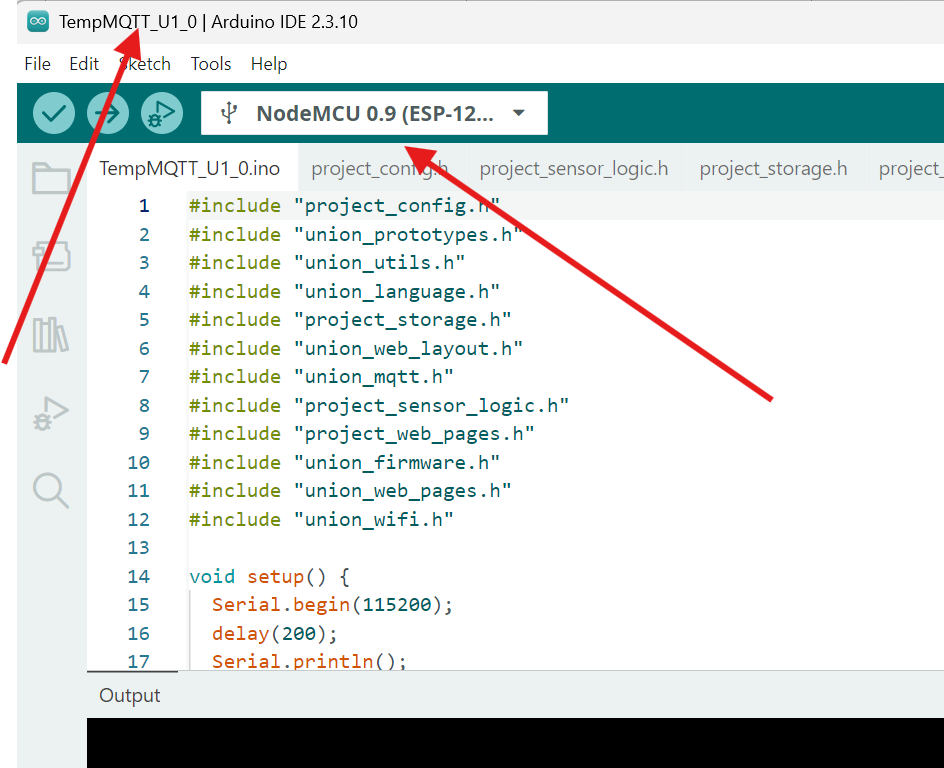
Unzip the downloaded file - and open the project in Arduino IDE.
Select Board as NodeMCU 0.9
Connect NodeMCU to PC
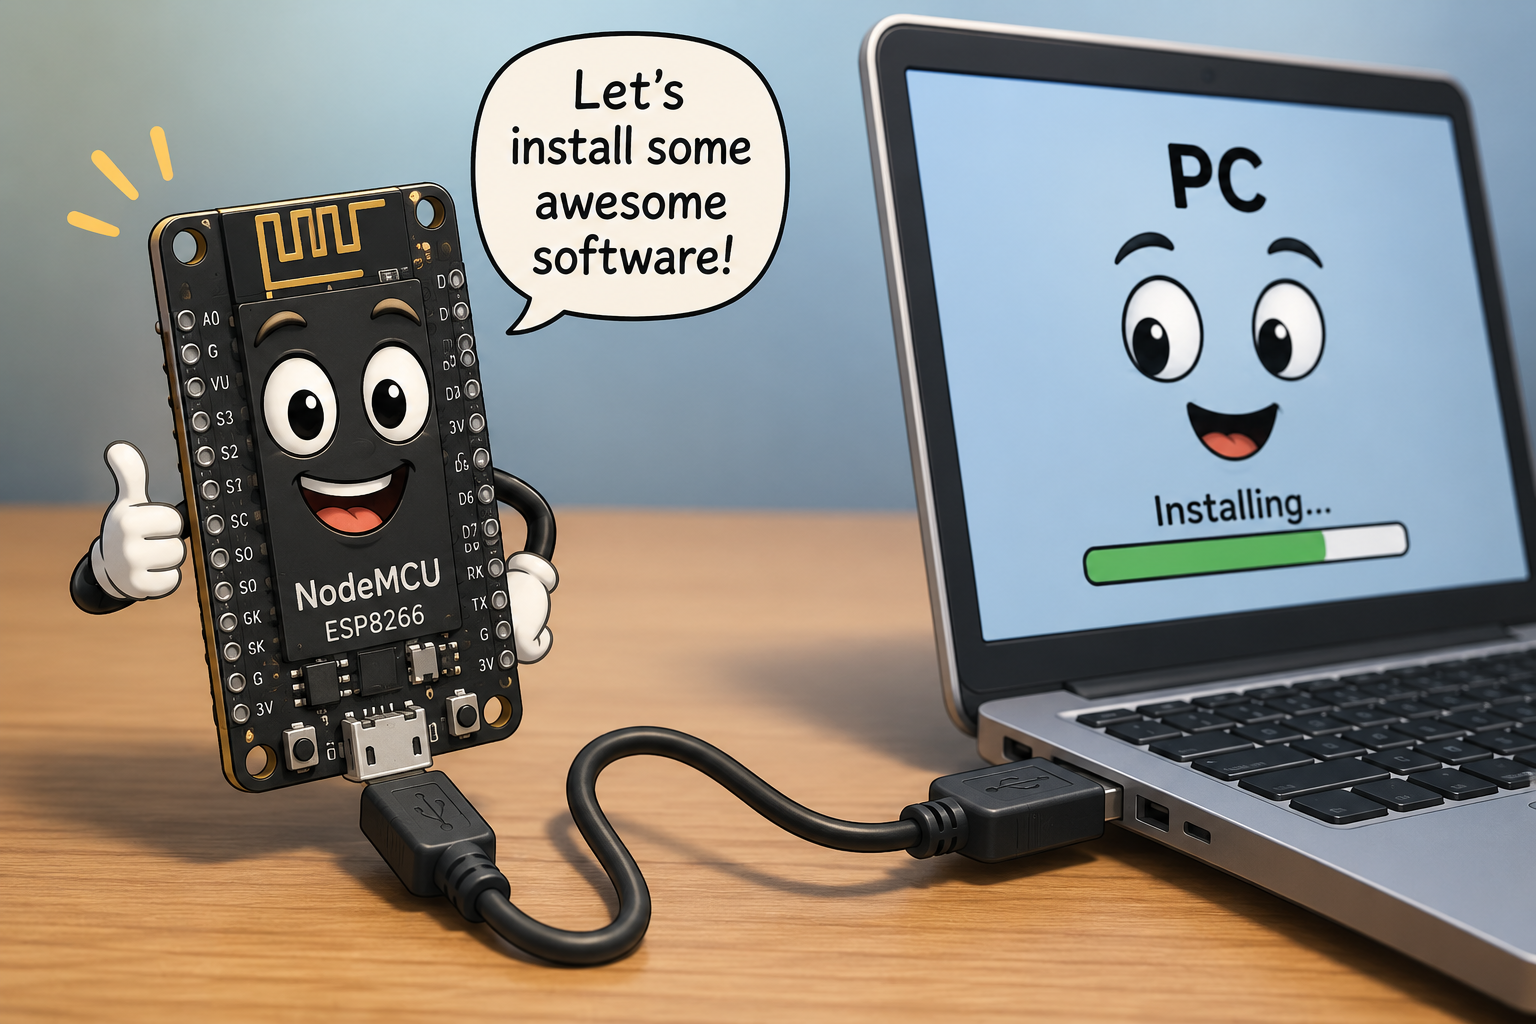
Connect NodeMCU to your PC with an USB Cable.
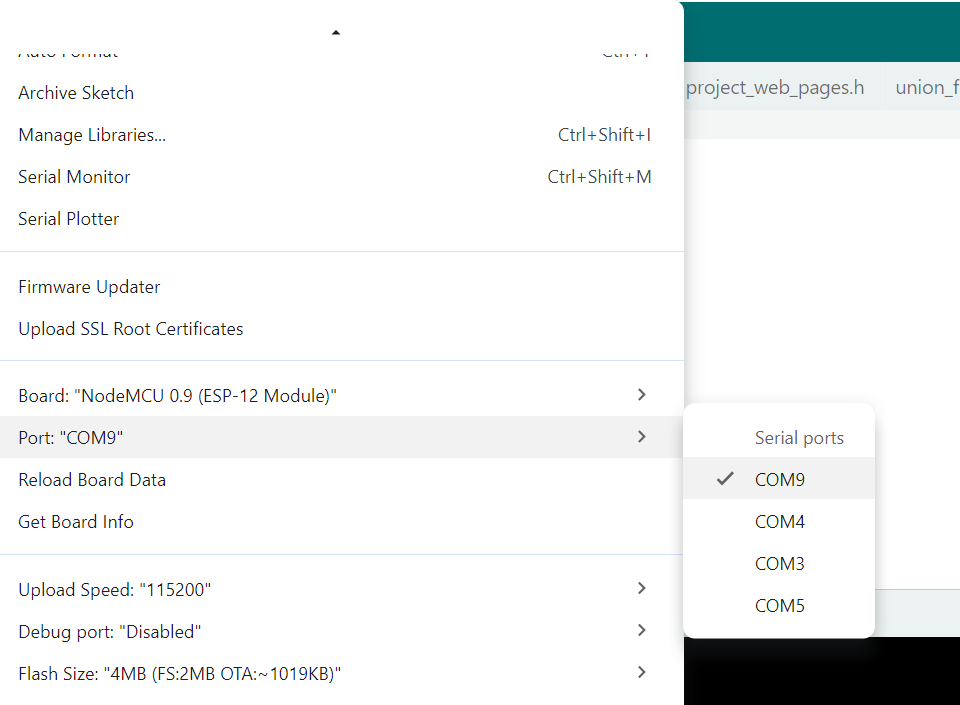
Choose the Port
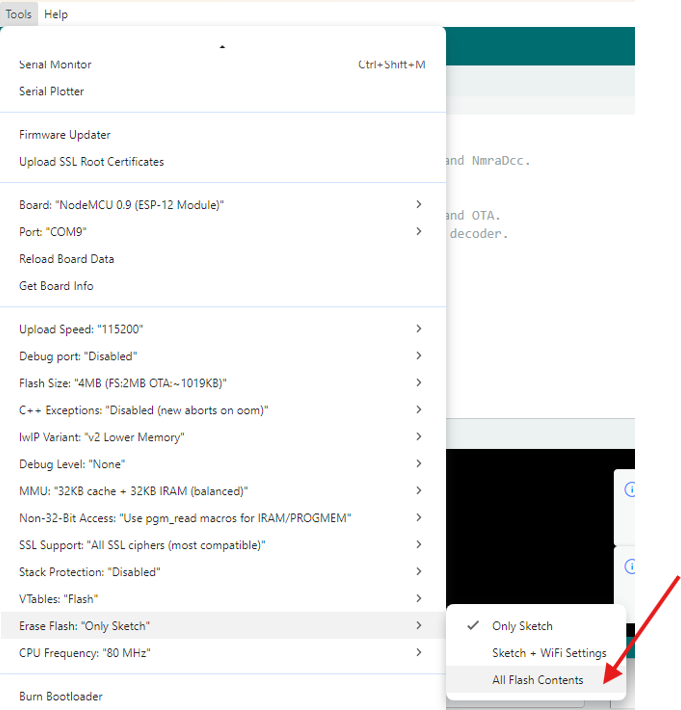
Erase Flash ?
If your NodeMCU is not brand new, it may be necessary to erase the flash memory before installing the new code.
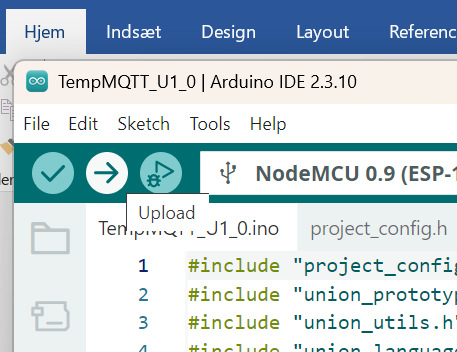
Upload code to NodeMCU
Upload the code to NodeMCU.
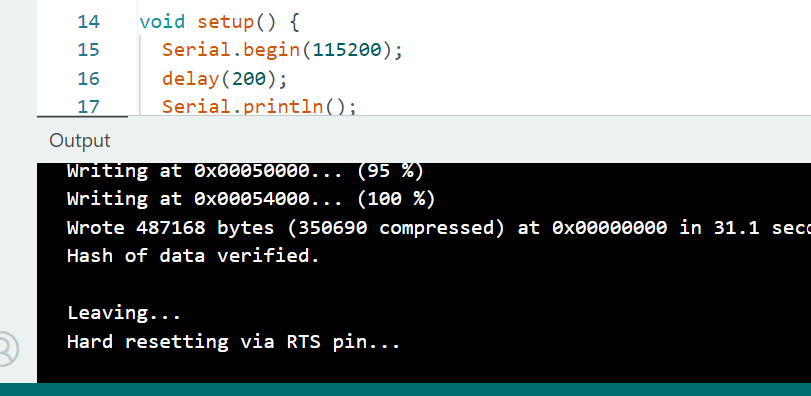
Success uploading
Success! If the upload was successful, you should see the following:
Hotspot on mobile phone
Check your Mobile Phone for a new hotspot
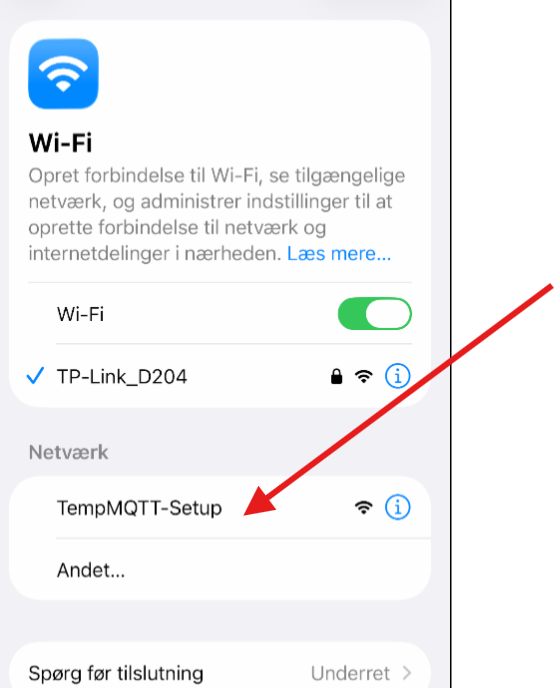
Select WiFi
Choose the Hotspot - snd select WiFi
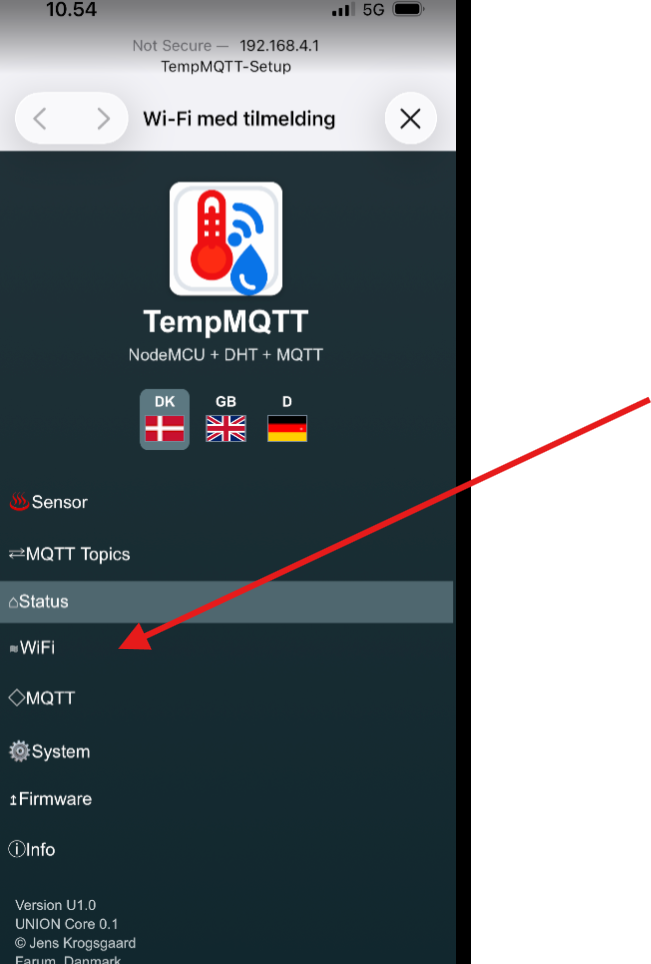
Type in WiFi credentials
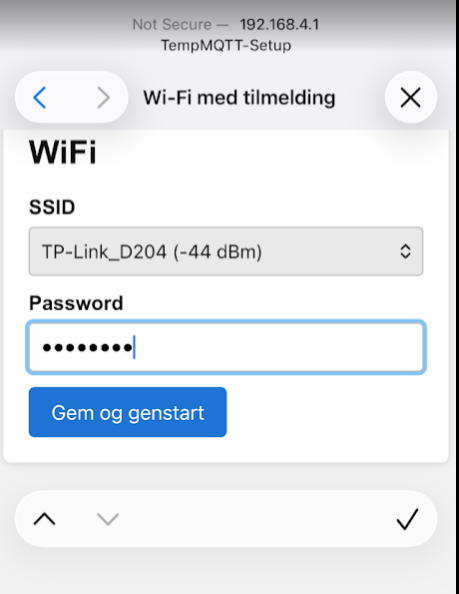
Type in your WiFI IDE and password. Press the button 'Gem og genstart' - save and restart.
The NodeMCU will now restart and connect to your WiFi
Open Web-config page
type in this URL in a browser:
http://nodemcu-tempmqtt.local/
You can now config your NodeMCU - connect to MQTT